How to Use Strapping Pliers?
Strapping secures cartons, bundles, and pallet loads, but a poor seal can undo careful packing. Strapping Pliers help tension, cut, and seal compatible strapping with control. The exact steps depend on the tool design and strap material. Small tool. Real consequences.
MHI’s 2024 Annual Industry Report discusses ongoing supply-chain pressures, including workforce challenges and the need for reliable operations. It does not measure strapping-plier performance, but it offers useful context: routine packaging tasks still matter when teams need consistent workflows. OSHA’s materials-handling and ergonomics guidance also highlights the value of safe work practices. Together, these sources support a practical approach: choose the right tool, follow its instructions, and keep hands clear of tensioned strap.
This guide explains how to inspect Strapping Pliers, position them on the strap, apply tension, and make a secure joint. It also covers strap compatibility, common handling mistakes, and basic maintenance. A clean cut is useful. So is a stable carton on a level surface. Still, no single technique fits every tool or package. I would not treat a tight strap as proof of a safe load; check the finished package and follow workplace procedures before moving it.
Identify the Strap Type and Choose Compatible Pliers
How to Use Strapping Pliers?
Identify the strap before choosing pliers. Plastic and steel strapping need different tool designs. Polypropylene strap is often thinner and more flexible than polyester strap. Steel is rigid, with sharp edges that can spring back when cut. Check the packaging or the markings on the coil. Check the label.
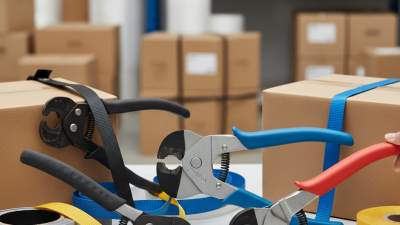
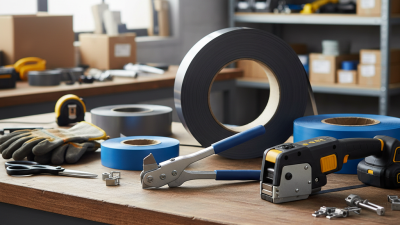
Match the pliers to the strap’s material, width, and thickness. Some pliers tension and cut plastic strap; others crimp a metal seal or join steel ends. The tool and seal must fit the strap width. A loose fit may leave a weak joint, while an oversized tool can crush the strap. Not close enough. If the strap uses a buckle or seal, confirm that the pliers are designed for that fastening method.
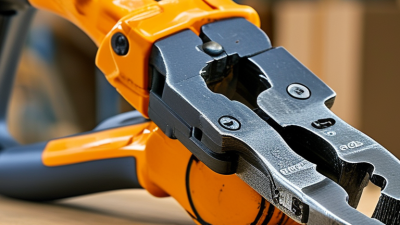
Before work, inspect the jaws for wear and test the fit on a short offcut. The strap should sit squarely, without twisting or slipping. I’ve found that a tool can look suitable but still pinch unevenly; appearance is not proof of compatibility. Follow the tool’s instructions, and keep hands away from the tensioned strap and cut end. If the strap type is uncertain, pause and check with the supplier rather than forcing the pliers.
Position the Strap Around the Package
Before using strapping pliers, place the package on a stable surface and check that its flaps are closed. Choose a path around the package that holds those flaps securely. The strap should sit flat and follow the package’s edges without twisting. Keep it away from loose corners or sharp edges that could cut or weaken it.
Keep it flat. Guide the strap around the box and bring its ends together where the pliers can reach them comfortably. Leave enough room to position the tool, but avoid letting the strap hang loose. On a large carton, check that the strap has not slipped underneath or crossed itself. A small shift is easy to miss. If the strap moves while you are fitting it, reset it rather than trying to correct the angle by pulling harder. Excessive tension can dent a carton or distort its contents. Once the strap is positioned, press gently against it and check that it stays in place before tightening. A neat path matters more than a rushed fit.
Grip and Tighten the Strap to the Required Tension
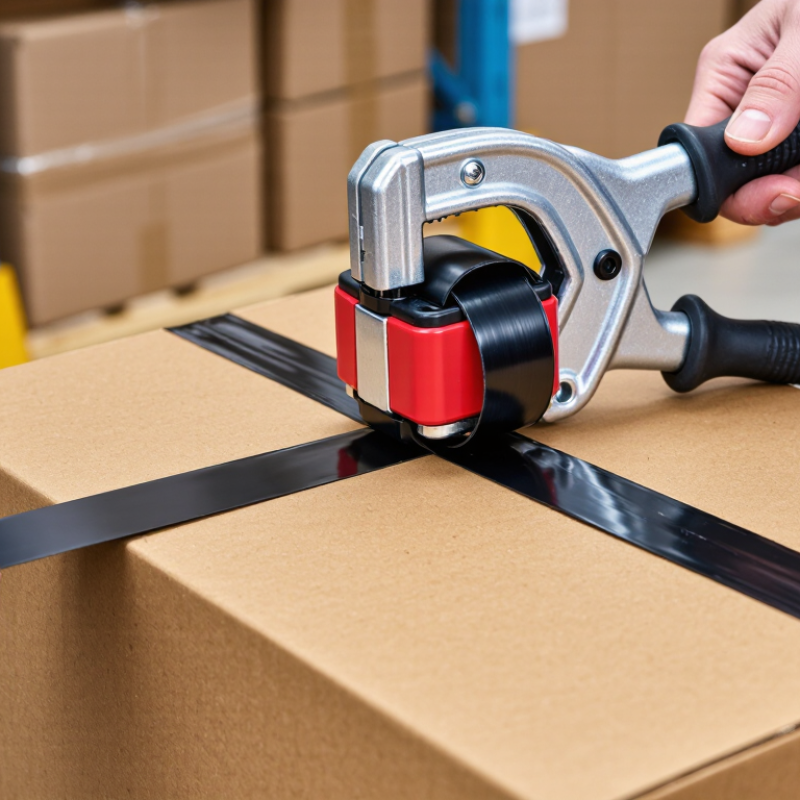
Before using strapping pliers, check that the strap is flat and free of twists. Place it around the package or load, keeping it aligned with the surface. Follow the instructions for your specific pliers, since jaw and handle designs vary. Grip the strap firmly in the jaws, with fingers clear of moving parts. Keep it steady. Pull the handle in a controlled motion until the strap sits snugly against the load. A small, even pull is easier to judge than a sudden tug.
Aim for enough tension to prevent the load from shifting, not so much that you crush corners or bend the package. Press the strap lightly with a gloved hand; it should feel secure, with little slack. Not too tight. I’ve found it easy to keep pulling just because the handle still moves, but that can damage the load without improving stability. Pause and check the strap’s position and the package shape. Once the required tension is reached, secure the strap using the method designed for your tool, then check that the connection holds before trimming any excess. If the strap slips or the load shifts, release tension safely and adjust rather than forcing the pliers.
Seal the Strap and Trim Any Excess
How to Use Strapping Pliers: Seal the Strap and Trim Any Excess
Once the strap is tensioned around the package, bring its overlapping ends together and position the seal as your tool instructions specify. Check that both layers sit flat inside the seal. A twisted strap can weaken the joint. Keep fingers clear.
Place the pliers’ sealing jaws squarely over the seal, then squeeze the handles through the full crimping motion. The seal should grip the strap evenly, without a loose edge or obvious gap. Tool designs vary, so use seals sized for your strap and follow the tool maker’s guidance. If the crimp looks uneven, pause and inspect it before moving the package. I still find it easy to rush this check.
Use the built-in cutter only after the seal is secure. Hold the loose tail steady, keep your face away from the cutting path, and trim the excess without nicking the tensioned section beside the seal. Leave no long, sharp tail sticking out. Check the cut edge and joint by sight; don’t pull hard on a loaded strap to test it. Wear eye protection, especially when cutting stiff or springy material.
Check the Fastening and Store the Pliers Safely
After tensioning and sealing the strap, check the fastening before moving the load. Look for a fully closed seal, a straight strap, and any tears or loose edges. Give the strap a gentle pull to confirm it holds; keep your face and fingers out of its path. I still find it easy to rush this check. Don’t.
The U.S. Bureau of Labor Statistics reported 2.6 million nonfatal workplace injuries and illnesses in private industry in 2023, 8.4% fewer than in 2022. This broad figure does not isolate strapping-tool incidents, but it supports making routine checks part of safe work.
After use, wipe dust and residue from the pliers, then inspect the jaws and pivot for wear or damage. Store them dry in a designated drawer or case, with the jaws protected and the handles secured if the tool allows it. Avoid leaving them on a bench edge, where they can fall or get buried under materials.
Tips: Test the seal on a sample strap if the fastening looks uneven. Keep pliers away from moisture, and don’t use damaged jaws.